

Introduction
Git is one of the most used version control systems (VCS) (also called, as in VS Code, SCM: source code manager).
Motivation
Suppose you've finished a project that you're scheduled to present to your professors. For some reasons, your presentation is postponed to next month. The day before your presentation you check the folder that contains the files of your project.
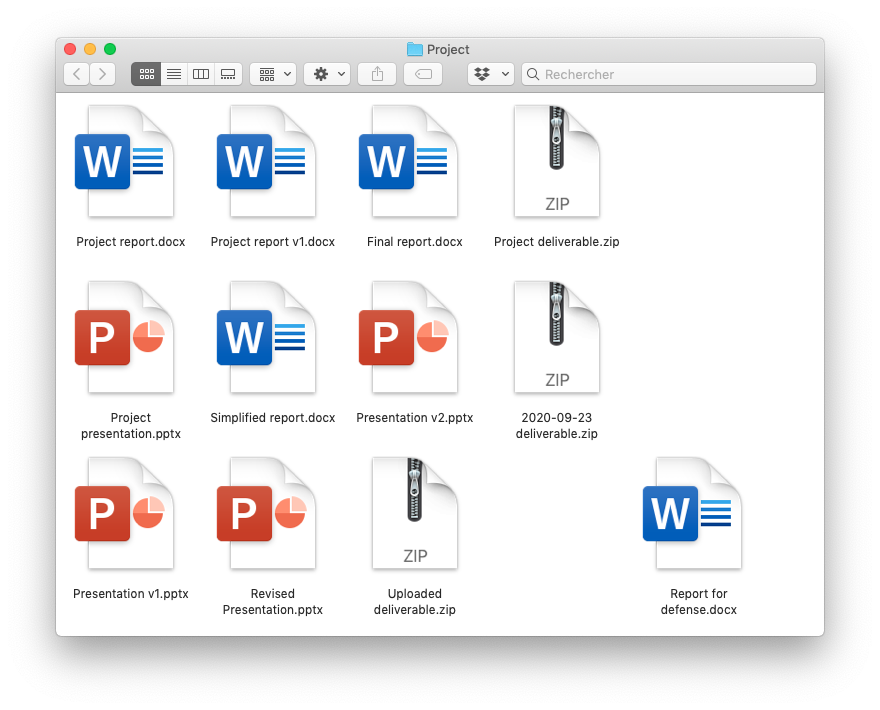
- Do you still remember which document is the real final report?
- Which file contains the associated presentation?
- Which deliverable are you going to give your professors?
While you can check the creation and modification dates of the files, you cannot rely on them because they are managed by the file system and you don't control how they are set. For example, if you create a copy of a file, the creation and modification date of the copy will be the same as the original file. The modification date may also be inadvertently modified, for example when you open a file to check its content and your application is configured with automatic saving.
A solution to keep track of the different versions of the files would be to strictly follow some rules, such that using a different folder for each new version, or using systematically dates in filenames. However, it is incredibly easy to forget to consistently apply these rules for small changes, and when the work on different files is not synchronized. The challenge is all the more complex when many people collaborate on the same project.
The problem is even worse in software development: while you work on a new feature, critical bug may be reported on the previous version. How can you correct the bug if you don't have a copy of the previous version?
These considerations call for tools to efficiently manage these situations. The first such a tool, known as Source Code Control System (SCCS), was created in 1972; Git is the successor of a lot of previous VCS.
Terminology and features of a VCS
A typical VCS offers the following services:
- Track all changes made to the files under control (the history). As a result, you can have a list of all changes and, for each change, you know exactly the date, the time, the author and a description. You can also revert to a previous version of any file and compare two different versions of a file. The place where the VCS keeps theses changes is called a repository.
- Enable the collaboration of several developers on the same project. Each developer is identified with an account and has a set of rights (e.g., create new files) on the repository.
- Let developers decide when the changes to a file are put under the control of the VCS: this operation is known as a commit.
- Merge different modifications made on the same file. This allows two developers to work on the same file at the same time, without the need of one imposing a lock on the file to prevent the others from accessing it. Modifications are automatically merged only if they don't result in conflicts, in which case the developers need to intervene.
- Tag a set of files as belonging to the same release.
- Create a managed copy (also known as a branch) of a project that can be modified independently of the original version (also known the main, or master, branch). Creating a branch is useful when you want to add a new feature to your application without any impact on the current version. When the new feature is ready and tested, you can merge the new branch into the main one. This will integrate the new feature into the current version.
Two families of VCS exist:
- centralized VCS (CVCS). The repository is stored on a server. When you want to commit a new version, you'll need a network connection to communicate with the server. The commit is refused if it results in conflicts. CVS and SVN fall into this category.
- distributed VCS (DVCS). Developers have each a local repository on their machines, they can thus commit new versions even in absence of a network connection. A remote repository is available, to which the developers upload their local modifications, so that they are visible to the others. Since two developers might have modified the same files, the upload may result in conflicts that need to be handled. Mercurial and Git belong to this family.
Git
Git is a distributed version control system, which is widely used today, especially because it is available on servers (GitHub and GitLab to cite the most known) that can be used free of charge for open source projects. It was designed by Linus Torvalds, the principal developer of the Linux kernel.
One important point in the design of Git is that creating a branch is a very light operation because a file is not actually copied until it is modified. This encourages the creation of new branches whenever a change is needed; after applying, testing and, in important projects, reviewing and approving, all the changes, the new branch can be merged into the main, or master, branch.
Since Git is distributed, developers have each on their machine a local repository containing all the project files. This is to say that developers have each their local copy of the project. Given that developers usually collaborate on a project, they also need to have a shared copy of the project, also referred to as a remote repository, available on a server (such as GitHub or GitLab).
The following figure shows how Git works.
- Developers create a local repository on their machine by cloning a remote repository.
- As a result of cloning the remote repository, the files in the main branch of the remote repository will show up in the developer's machine along with a directory named
.git. The files form the so-called workspace, while the.gitdirectory is the local repository (containing all the branches and the different project versions). - The developer can edit the files in the workspace.
- The developer adds to the index the files that need to be included in the next project version. If the developer modified files
a.py,b.pyandc.py, but only the modifications ina.py,b.pywill be part of the next version, filec.pywill not be added to the index. - The developer commits the changes added to the index. This action creates a new version of the project in the local repository.
- Before uploading the changes to the remote repository, the developer downloads, or pulls, the latest modifications to the remote server. This might reveal some conflicts with the local modifications, that the developer must solve before proceeding.
- Finally, the developer uploads, or pushes, the local modifications to the remote repository.
In this lab, and in the Coding Weeks activities, you'll always have a remote repository and one or several local repositories. The remote repository will be managed by a GitLab server available at CentraleSupélec. Note that having a remote repository is always a good idea, even if you work alone on a project: it serves as a backup and allows you to access your project files on any computer.
We recommend you to first create a remote repository on GitLab, and then create the local repository on your computer using the git clone command. The activity below shows precisely how to do it.
Activity
Before reading on, make sure VS Code is still running and that your working directory in the terminal is ~/Documents/sip/sip_td_computer; this directory should contain a file named hello.py.
- Log in to the CentraleSupélec GitLab server using your CentraleSupélec email address as username and your usual password.
- Click on the blue button New project, then on Create blank project.
- Name your project
sip_td_computer_git, uncheck the box Initialize repository with a README and click on the blue button Create project.
- Choose Global and copy/paste the two lines of the paragraph Git global setup into the VS Code terminal, they tell Git what's your name (
git config --global user.name "...") and what's your email (git config --global user.email "..."). You won't need to do so next time you create a new repository on the same computer.
- Type the following command to instruct Git to use Visual Studio Code when merging conflicting branches.
git config --global core.editor "code --wait"
Since we want to create a new project, look at the commands listed in the Create a new repository paragraph. Here is an explanation of each:
-
git clone https://gitlab-student.centralesupelec.fr/<username>/sip_td_computer_git.git(<username>being replaced by your own username):
the gitclonecommand is used to make a local copy of a remote git repository.
Before typing the command, change the working directory in the terminal to point to the parent of the current directory.
I don't remember how to move to the parent directory
cd ..
Your working directory should now be sip.
Now copy/paste the git clone command. You'll be prompted to insert your username (your CS email address) and password. If everything goes well, a message will inform you that you successfully cloned an empty repository, which is correct.
-
cd sip_td_computer_git:
if you look at the content of your working directory in the VS Code terminal (which should be~/Documents/sip), you should see both folderssip_td_computerandsip_td_computer_git.
Open in VS Code the foldersip_td_computer_git, then open a new terminal and make this folder your working directory. Using the appropriate shell command (do you remember which one?), you should see that a new folder, named.git, is there. You should not change anything in this folder, it is managed by Git.
Remember: it is recommended to always open, with VS Code, the folder corresponding to the local repository of your project (the folder which contains the .git sub-folder).
- Before looking at the next command, type
git statusin the terminal. A message informs you that you are in themainbranch (the name of the current branch is also displayed at the bottom-left of the VS Code window), which has no commits, and nothing to commit.
-
git switch -c main:
The Git commandswitchis used to change the current branch, the-coption asks to create the branch if it does not exist. Since we are already in themainbranch, this command is useless. It is given by GitLab because the default branch used to be calledmasterin previous GitLab versions. It is now customary to call itmain.
-
touch README.md:
The shell commandtouchtakes in a filename as its argument and sets the modification date of the file to the current date; if the file does not exist, it is created. This command is commonly used in Linux to create an empty file. It is very important to have a README file in the repository. In the Coding Weeks, a well-formatted and written README will influence the evaluation of the quality of your project. Copy thistouchcommand, paste it into the VS Code terminal and execute it.
The .md extension denotes a Markdown file. Markdown is a lightweight markup language used to write formatted text using a plain-text editor. You can learn more on Mardown here. Also, this page explains in greater detail how to write a properly-formatted README for a Git project.
- Type
git statusagain. A message should inform that there is an Untracked file. In the VS Code Explorer tab, you'll see the letterU(for untracked) at the right of the nameREADME.md. Hover your cursor over thisU; a pop-up message will explain it.
-
git add README.md:
this command instructs Git to add to the index the files given as its argument. Here, only the fileREADME.mdis added to the index.- Type or copy/paste this command into the terminal. Execute it.
- Type or copy/paste this command into the terminal. Execute it.
- Now,
git statuswill inform you that the fileREADME.mdwill be committed when the appropriate command is given. Also, theUin the Explorer tab has been changed toA(for, added to index).
-
git commit -m "Add README". This command commits a new project version to themainbranch of your local Git repository. The-moption is used to specify the comment associated to the commit: it is mandatory, and you should write a meaningful sentence that explains what the new version changes from the previous. Note that the quotes"are needed so that the shell does not interpretAddandREADMEas two separate arguments; the argument of the-moption is the phraseAdd README:- Type or copy/paste this command into the terminal. Execute it. The letter
Ain the EXPLORER tab should disappear.
- Type or copy/paste this command into the terminal. Execute it. The letter
-
git push -u origin main: the purpose of this command is to transfer the modifications made on your local repository (the newREADME.mdfile) to the remote repository on GitLab. The-uoption tells Git that the currently used local branch (themainbranch in our case) must be associated with the branch with the same name on the remote repository. Nothing forbids to use different branch names; but once this association is decided, the simple commandgit pushwill be enough.originis the name of the remote repository (it has been set by the Gitclonecommand),mainis the name of the branch being pushed.- Type this command or copy/paste it into the terminal. Execute it. You'll be prompted to give your
Usernameat the top of the VS Code window and yourPassword.
- Type this command or copy/paste it into the terminal. Execute it. You'll be prompted to give your
In the lecture about computer security, you'll learn a method that avoids the use of username and password each time you need to push a modification. You'll also learn how to set up your computer and GitLab to do so.
- Refresh the GitLab web page: the
README.mdfile should be now visible, along with the corresponding commit.
- Using the VS Code editor, write something in the
README.mdfile and save it. A letterM(Modified) should appear in the Explorer tab. On the left part of the VS Code window, you may notice a ❶ above the Source Control icon (you probably have noticed it before). Click on this icon to switch to the SCM view, then click on theREADME.mdname in what is now the Source control part: the differences between the current version of theREADME.mdfile and the version in the Git repository is displayed.
- You can use the
+to add the changes to the index, enter a message and use✓ Committo commit, thenSync Changesto push to the remote repository.
- Using the VS Code terminal, add the file
hello.pyto your remote git repository.
You have learned the basic usage of Git, this is enough at this point. You'll learn more during the Coding Weeks. If you want to discover more by yourself, we recommend this free e-book.